How to Add a Website in
AiFaqChat
Follow these steps to create your site, train the AI assistant, and embed chat or FAQ widgets on your website.
Step 1
Open your dashboard and click the
 Add button to create a new website.
Step 2
Choose whether the AI chat should be active immediately:
- Chat is active and ready to receive messages — visitors can start chatting right away.
- Chat is inactive and temporarily unavailable — useful if you want to finish setup first.

Step 3
Select how your AI assistant will be trained:
- Automatic training — we scan your website automatically, with manual edits allowed.
- Manual training — you upload and manage all training content yourself.

Step 4
Enter the Site Name and Website URL. This helps identify the site inside your dashboard and AI configuration.

Step 5
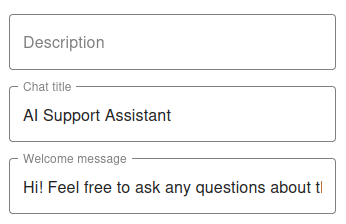
Customize how the AI assistant represents your website.
You can write all fields in any language — the AI will respond in the same language.
- Description — who the AI represents in conversations
- Chat Title — displayed at the top of the widget
- Welcome Message — the first message users see
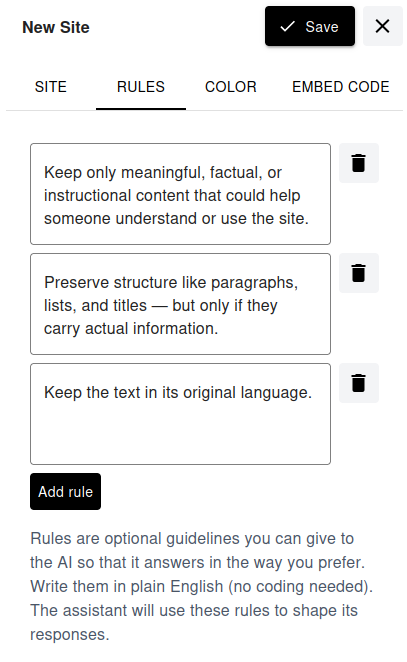
Step 6 — Rules
Optionally, add custom rules to guide how the AI responds.
Rules can be written in any language and in plain text — no coding required. They help control tone, behavior, language, and response style of the assistant.
Step 7 — Colors
Adjust the chat widget title and button colors to match your website design.
Step 8 — Embed Code
Copy the embed code and add it to your website:
-
Chat Widget: Paste before the
</body>tag. - FAQ Widget: Place the script where you want the FAQ to appear.
Your AI assistant is now ready.
Once saved, training can begin and your chat or FAQ widget can start answering questions.